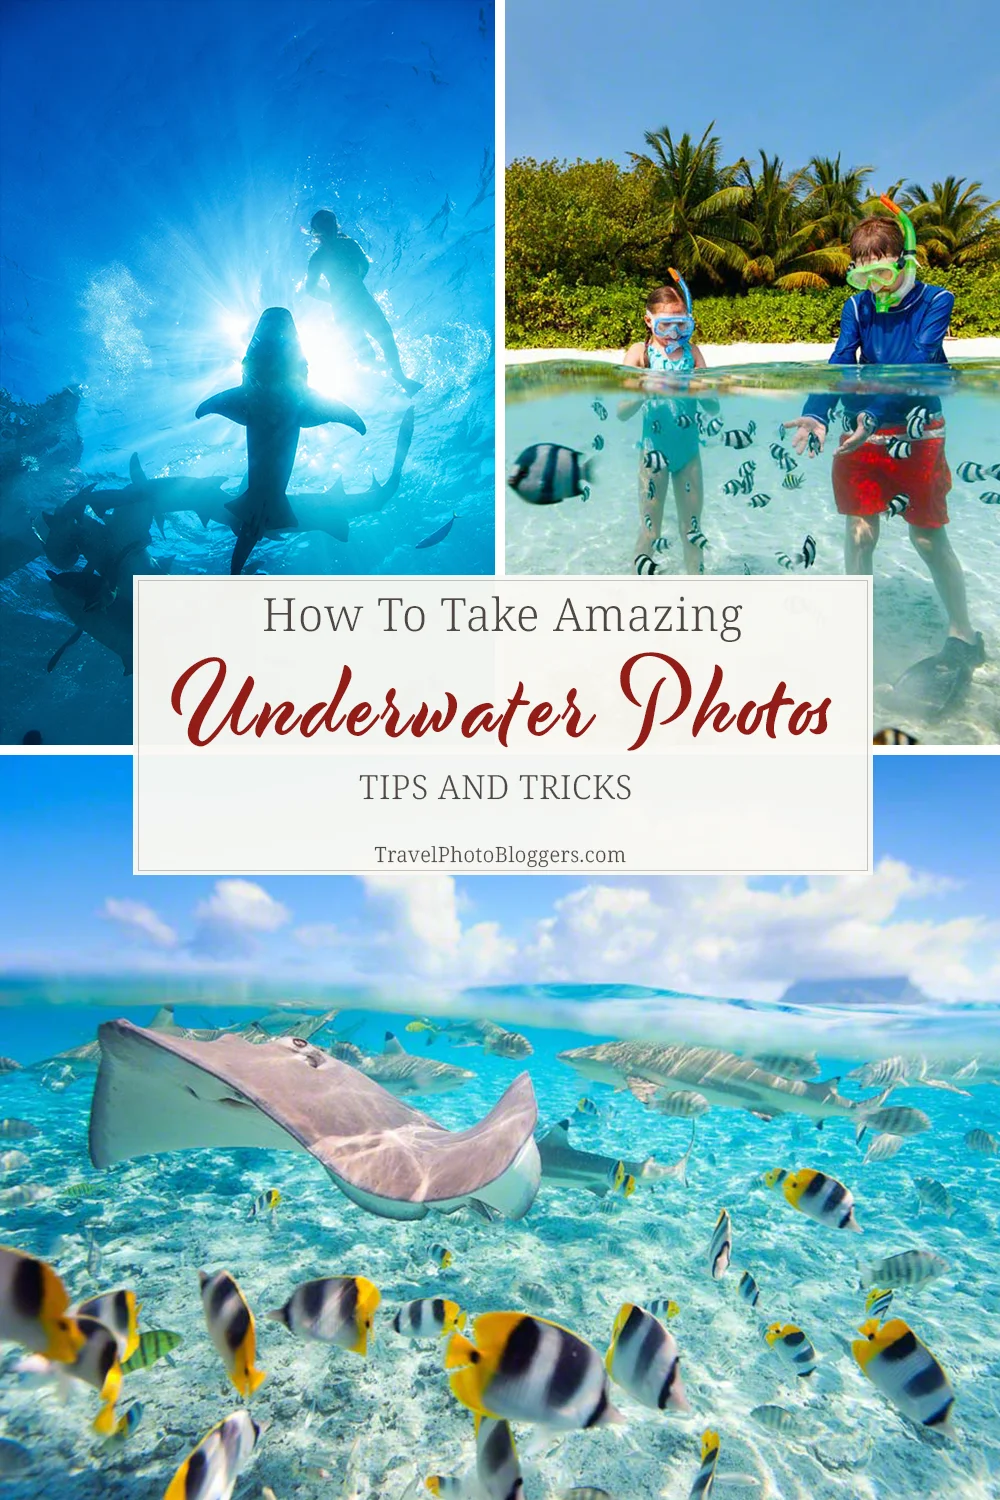
Underwater Photography Tips and Tricks
We’ve received many requests from our readers and Instagram followers asking how we approach underwater photography and capture over-under (split) images—and we’ve heard you. So here it is!
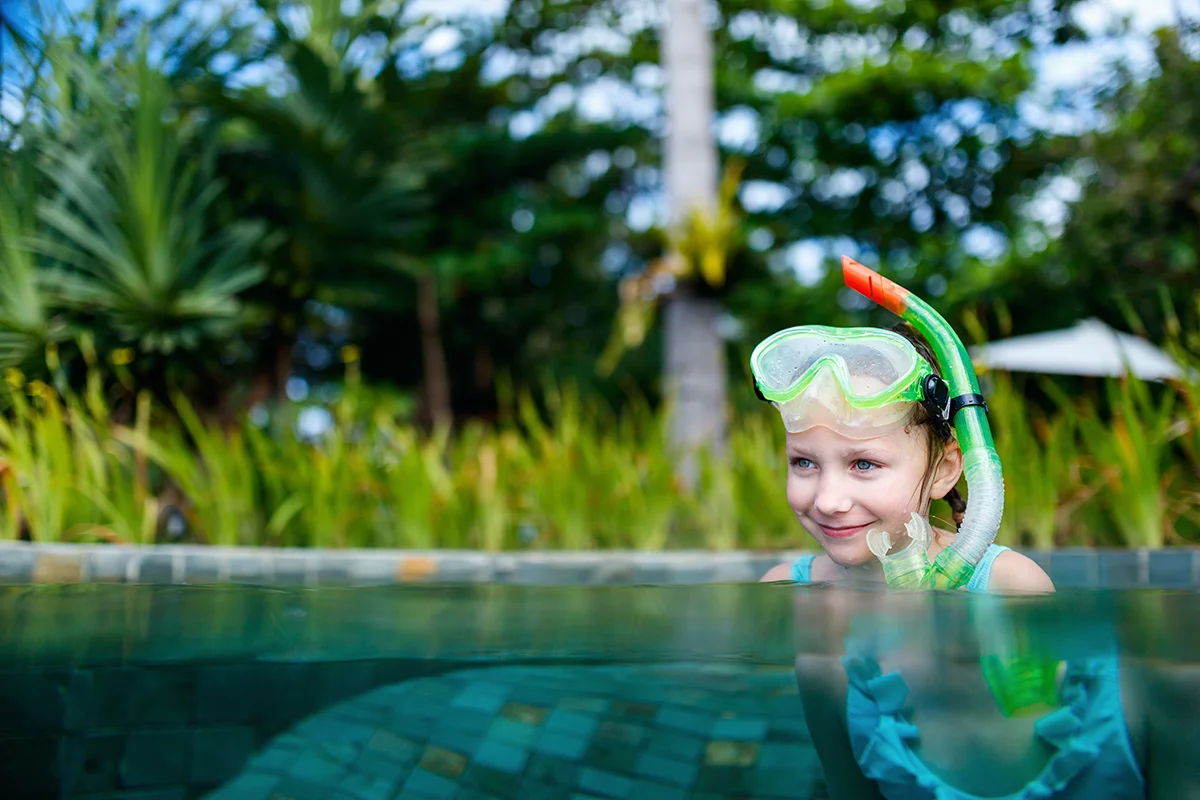
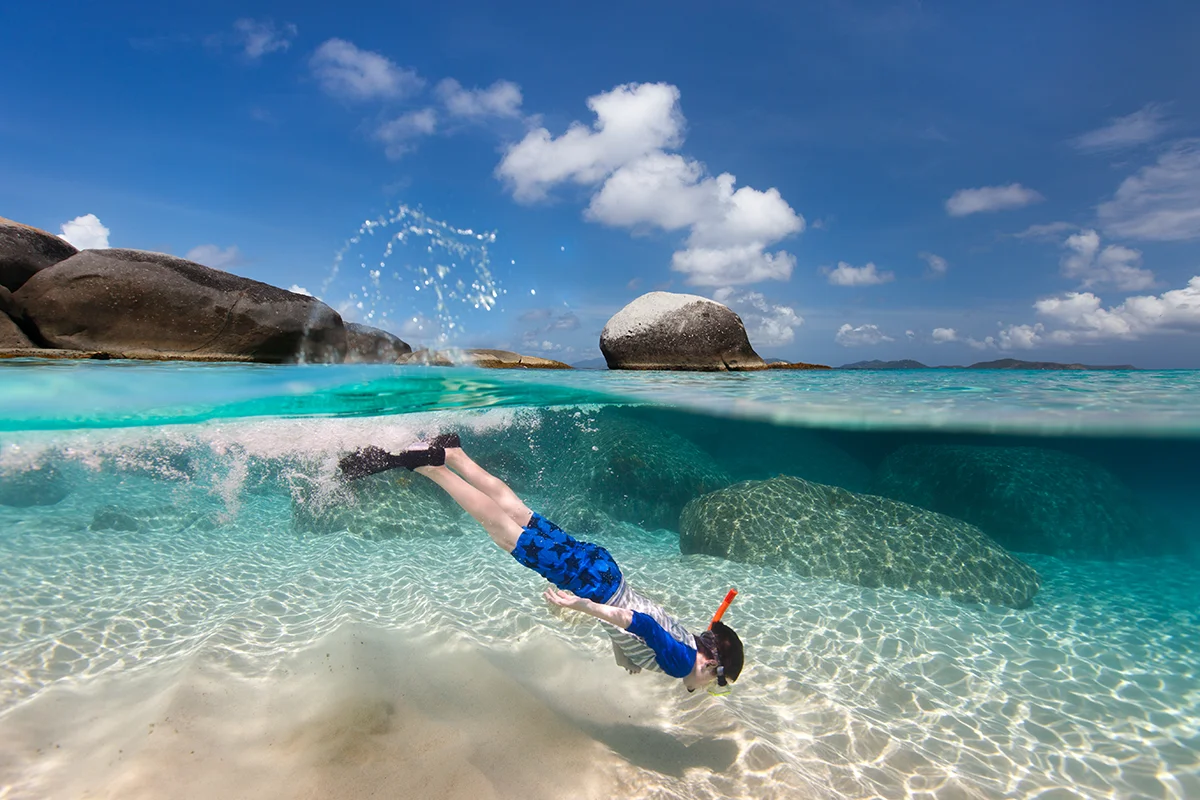
We travel frequently to tropical destinations and have always loved capturing beach scenes. But from the very beginning, we were also fascinated by the underwater world. None of us is a diver, but we all enjoy snorkeling, which is how our journey into underwater photography began.
Our very first underwater camera was the Canon Ixus X-1 compact film camera. Since then, we’ve tested several different setups, learning what works (and what doesn’t) for shooting both above and below the surface. Here’s a look at the gear we’ve used over the years, followed by our favorite tips and tricks.
Seychelles with Ewa-Marine
After upgrading to a Canon 5D DSLR, we wanted a budget-friendly underwater solution and picked up the Ewa-Marine U-BXP100—essentially a heavy-duty plastic bag with a flat port.
Ewa-Marine U-BXP100 Specs:
- Buoyancy: Positive
- Depth rating: 50m
- Port: Flat port for lenses with 72mm filter diameter (82mm extension available)
- Weight with camera: ~2.4kg
While it was light and easy to use, the flexible design made it challenging to adjust buttons and dials underwater. Plus, the positive buoyancy made snorkeling and freediving tricky.
We attempted split shots in the Seychelles at Anse Source d’Argent, but the combination of lens, flat port, and large housing surface area made it nearly impossible to get the framing and sharpness we wanted.
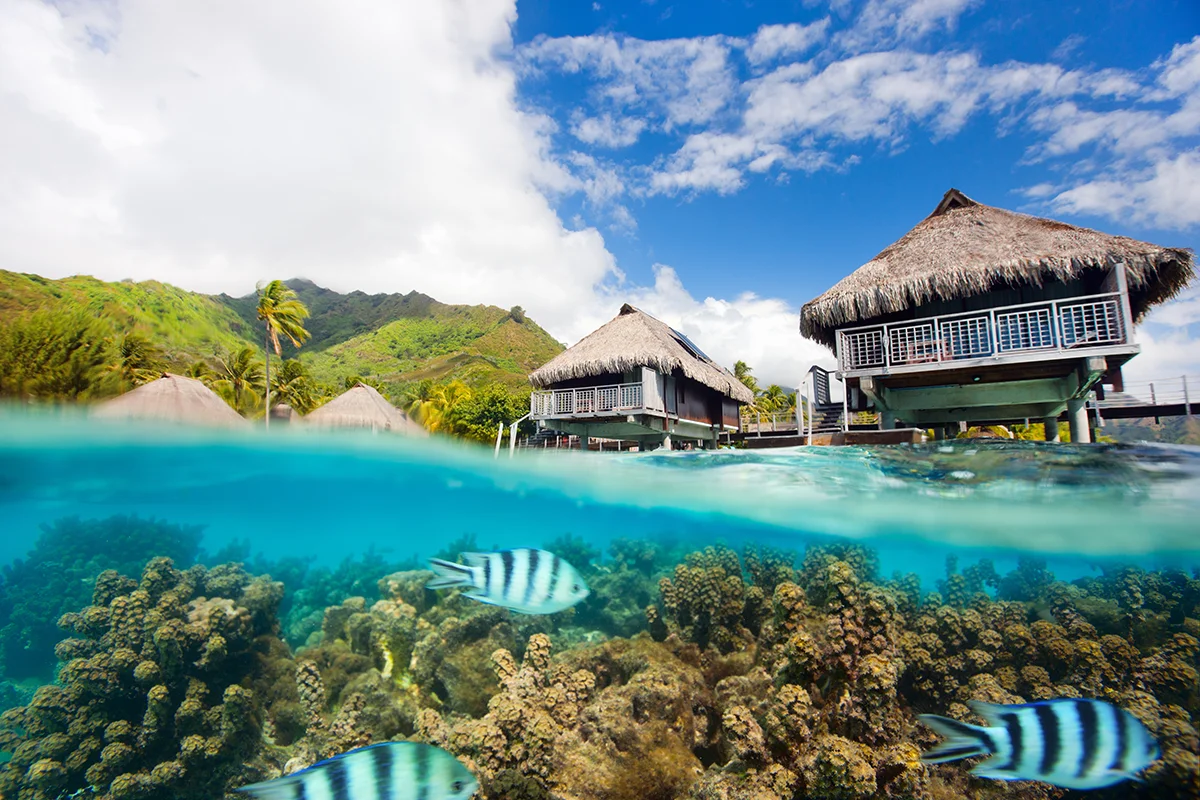
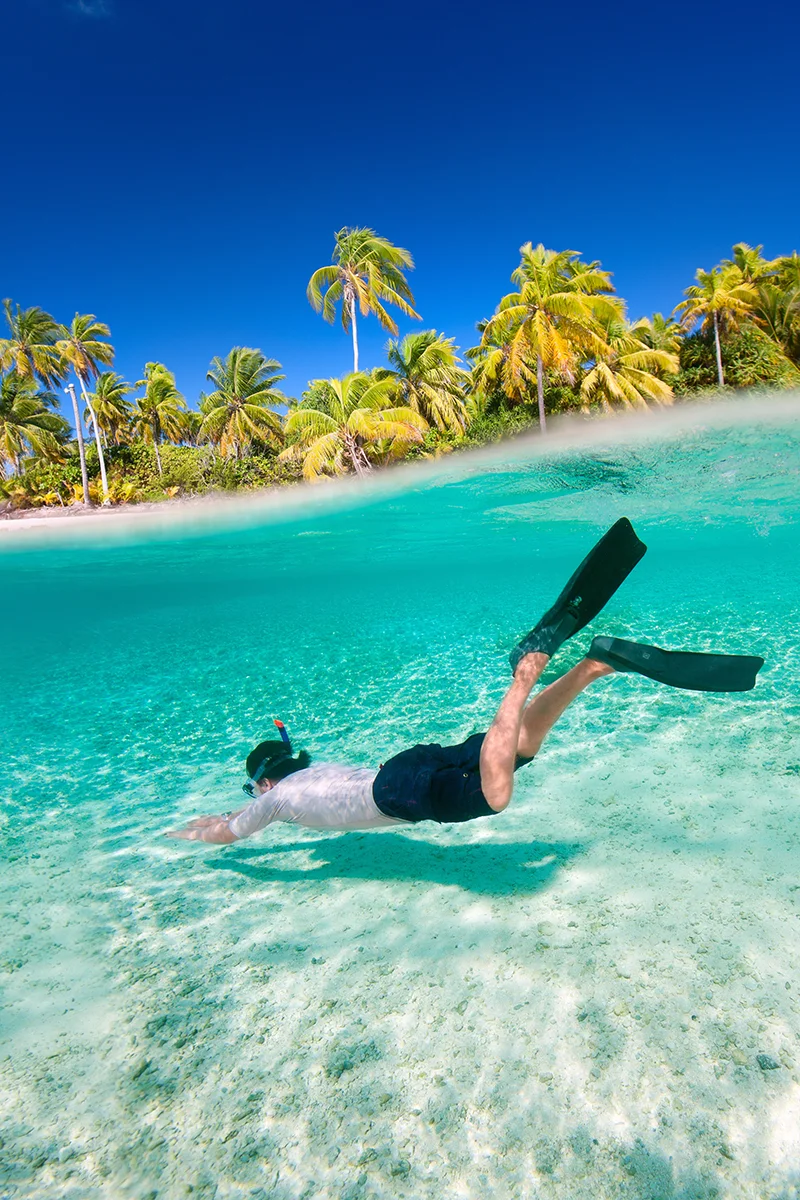
Tahiti with SEA&SEA: A Major Upgrade
For our Tahiti trip, we wanted to try a professional underwater housing and chose the SEA&SEA MDX-MKIII for the Canon 1Ds Mk III.
SEA&SEA MDX-MKIII Specs:
- Depth rating: 60m
- Port: 8” optical dome with extension ring
- Weight with camera: 6.7kg
- Buoyancy: Neutral to slightly negative
We loved this housing. It’s solid, gives access to all camera functions, and is easy to install. The only downside? Weight. It’s tiring to carry—especially for split shots or long beach walks.
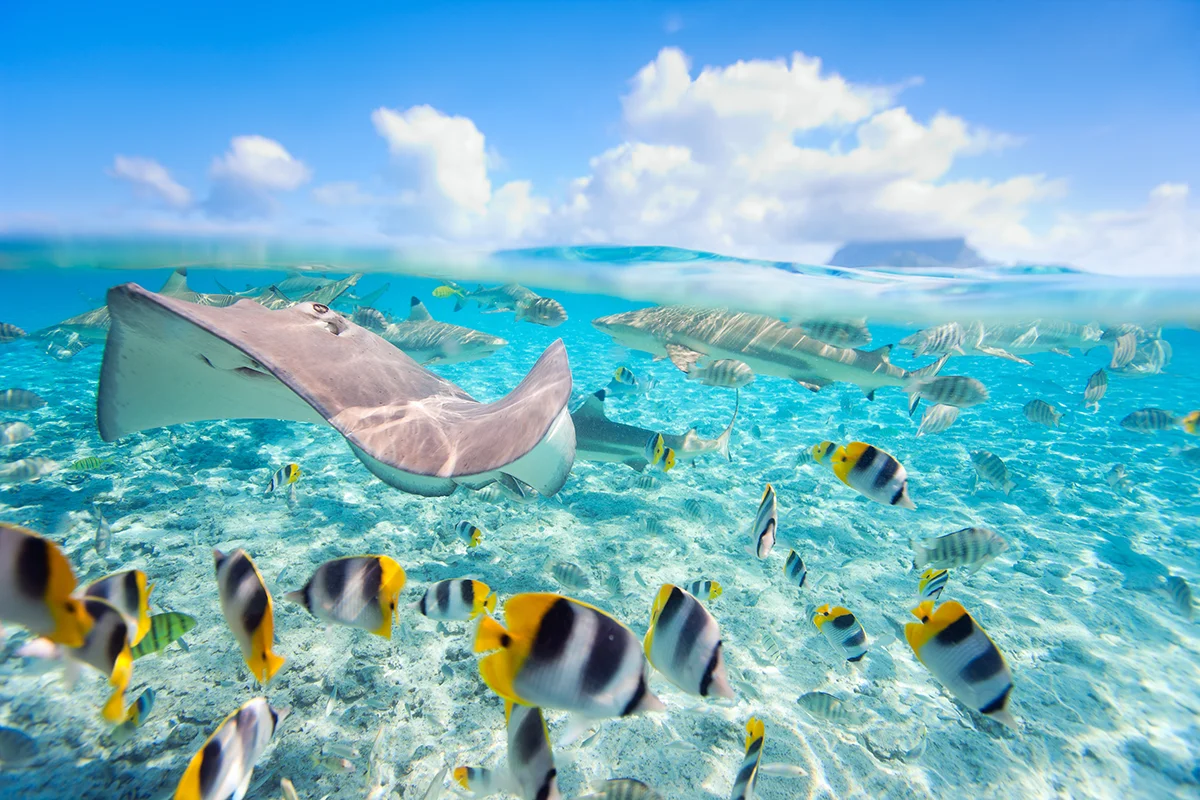
Still, the results were worth it. We captured beautiful stingrays, sharks, and reef fish in Bora Bora, and some of our favorite split shots at Ninamu.

Bahamas, Palau, BVI, USVI, Cook Islands, and Maldives with Ikelite
Next, we purchased an Ikelite housing for the Canon 5D Mk II. It was an affordable choice with a solid reputation and an 8” dome port that paired well with our Canon 16–35mm f/2.8L II lens.
Ikelite Housing Specs:
- Depth rating: 60m
- Port: 8” dome for lenses up to 5.1 inches
- Weight with camera: 4.3kg
- Buoyancy: Negative
The downside? The setup was complicated. Installing the lens involved multiple steps—attaching zoom gears, securing the extension port, fitting the dome—definitely not ideal when you’re in a hurry.
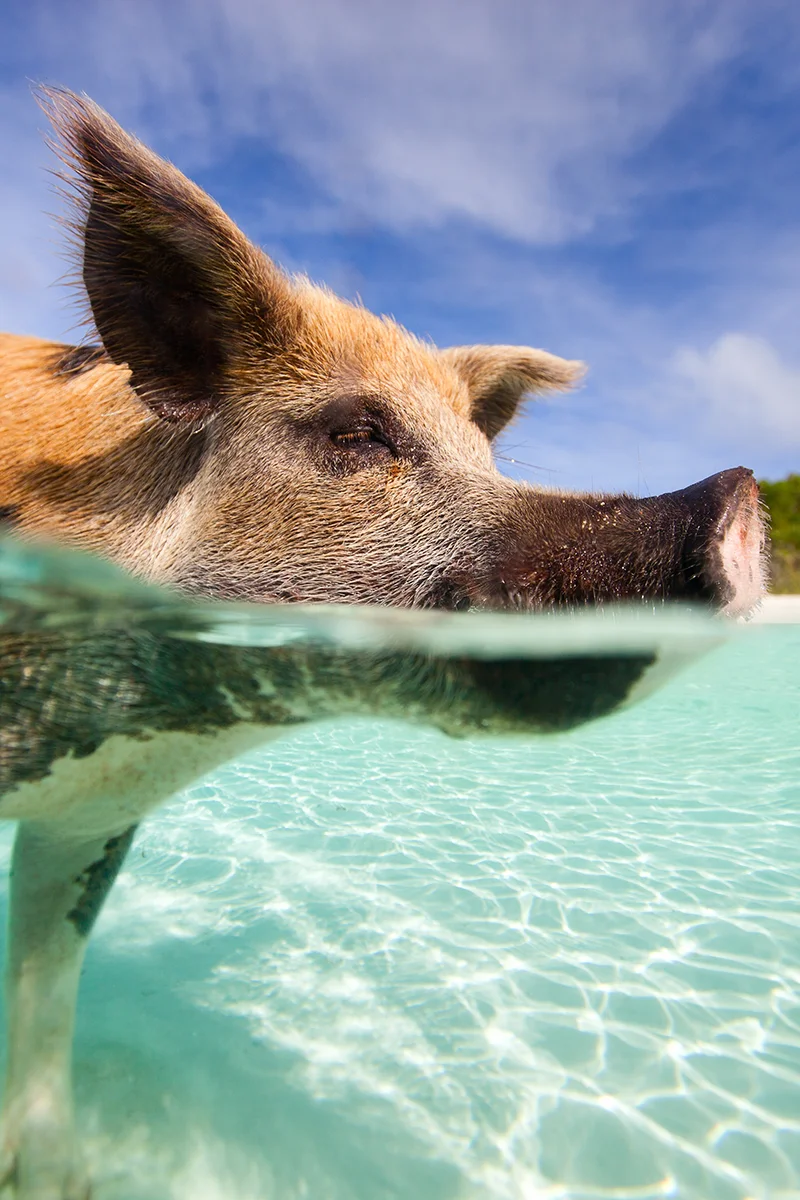
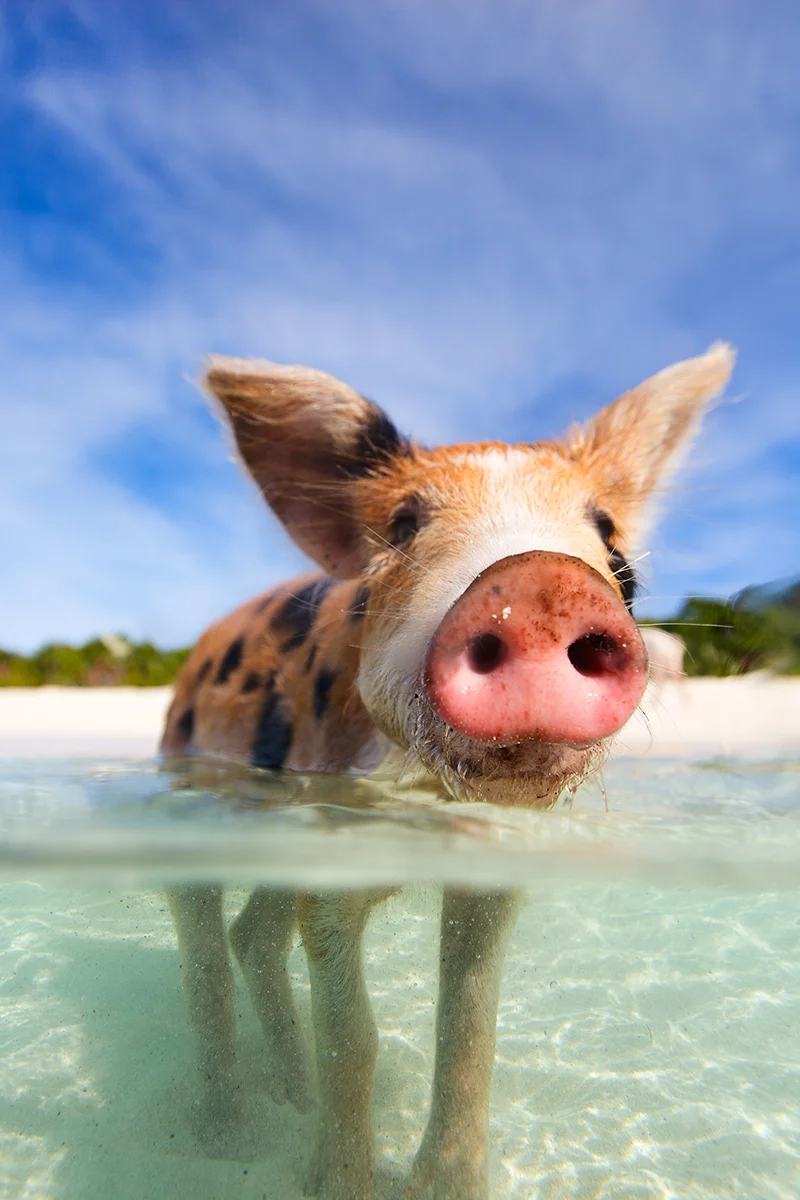
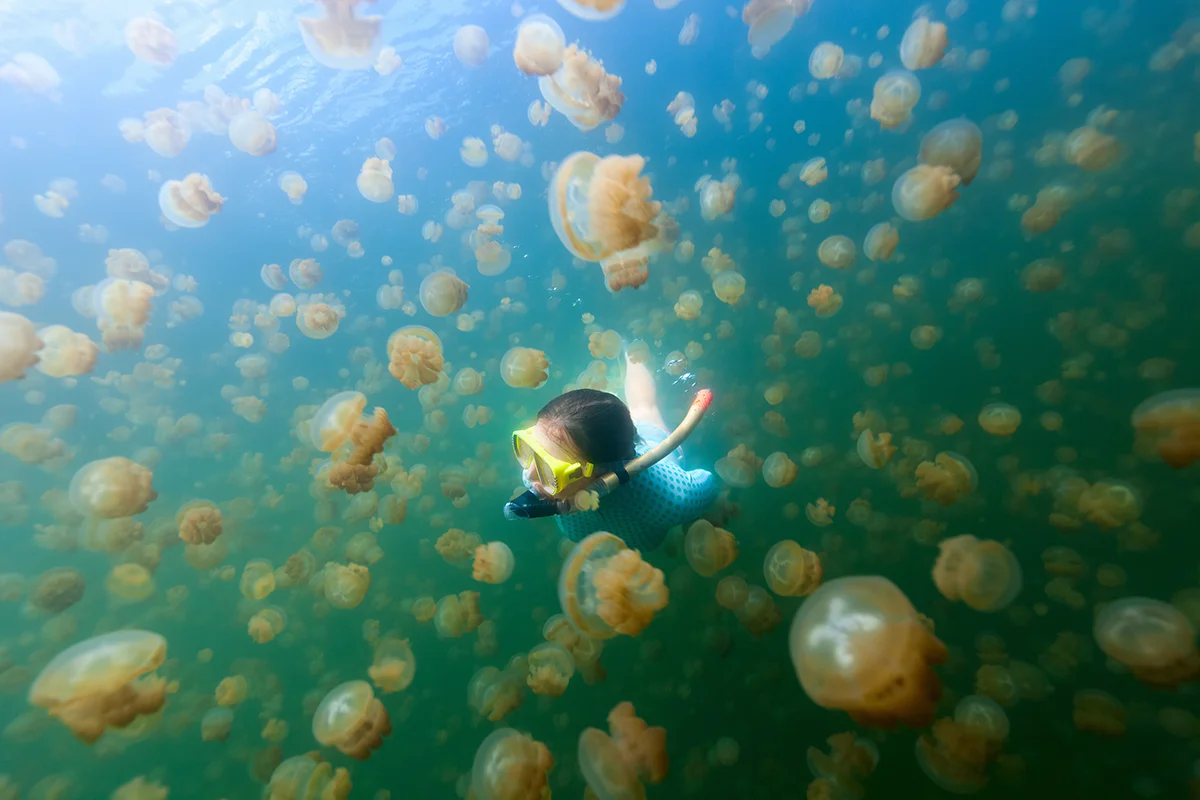
But despite its quirks, we used it for years and captured some unforgettable moments, like the swimming pigs in the Bahamas and jellyfish in Palau.

Maldives and Cambodia with AquaTech: Surface Simplicity
Eventually, we realized we didn’t need deep-diving housings since we don’t scuba dive. We switched to AquaTech, a brand that specializes in sport housings designed for shallow water, surface work, and split-shot photography.
AquaTech Elite 5D3 Specs:
- Depth rating: 10m
- Port: 8” PD-85 dome with P-70 EX extension
- Buoyancy: Positive
- Weight with camera: 4kg
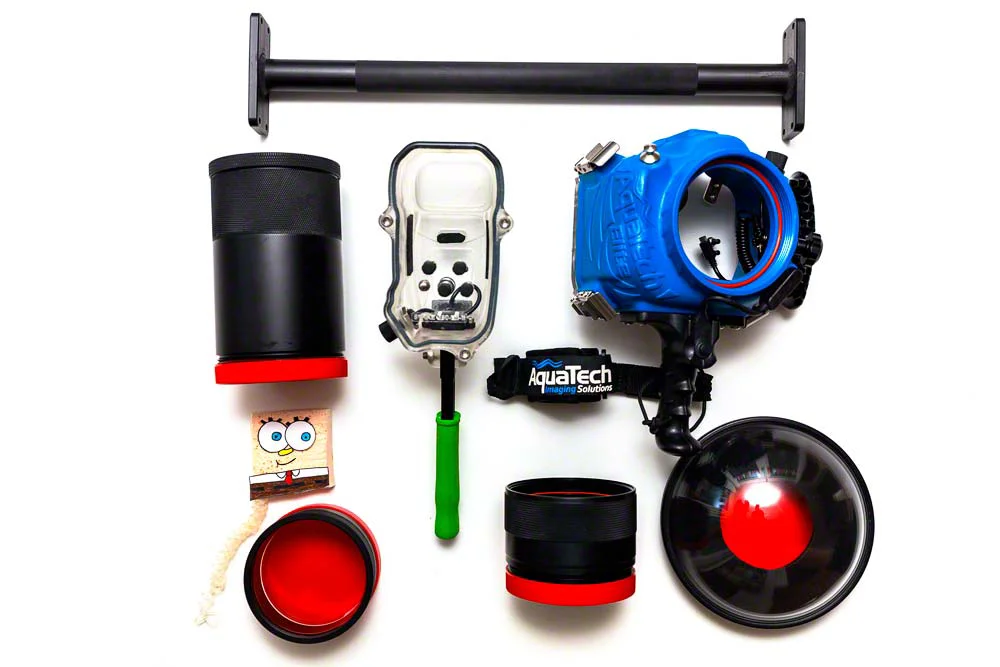
We paired it with a Canon 5Ds for its menu customization options. AquaTech housings are lightweight, easy to use, and offer tons of accessories. The only limitation is restricted access to some camera controls—but custom menus cover most of what we need.
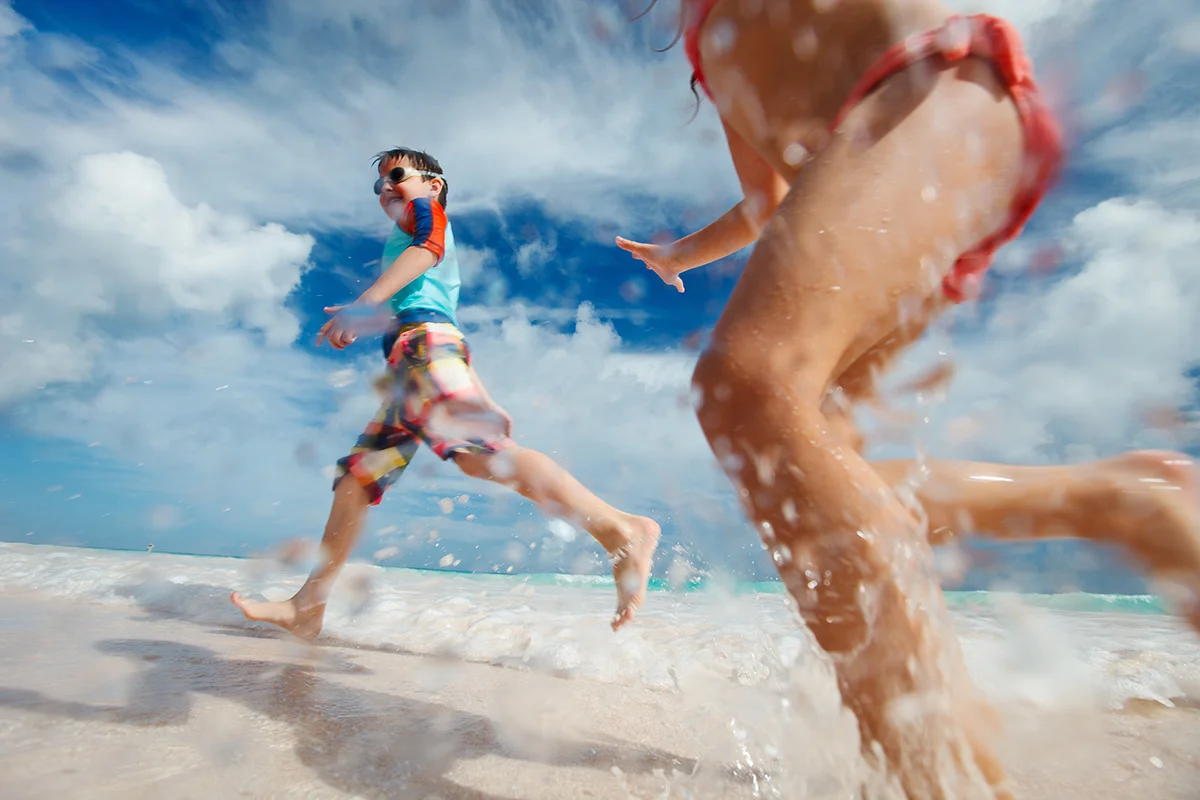
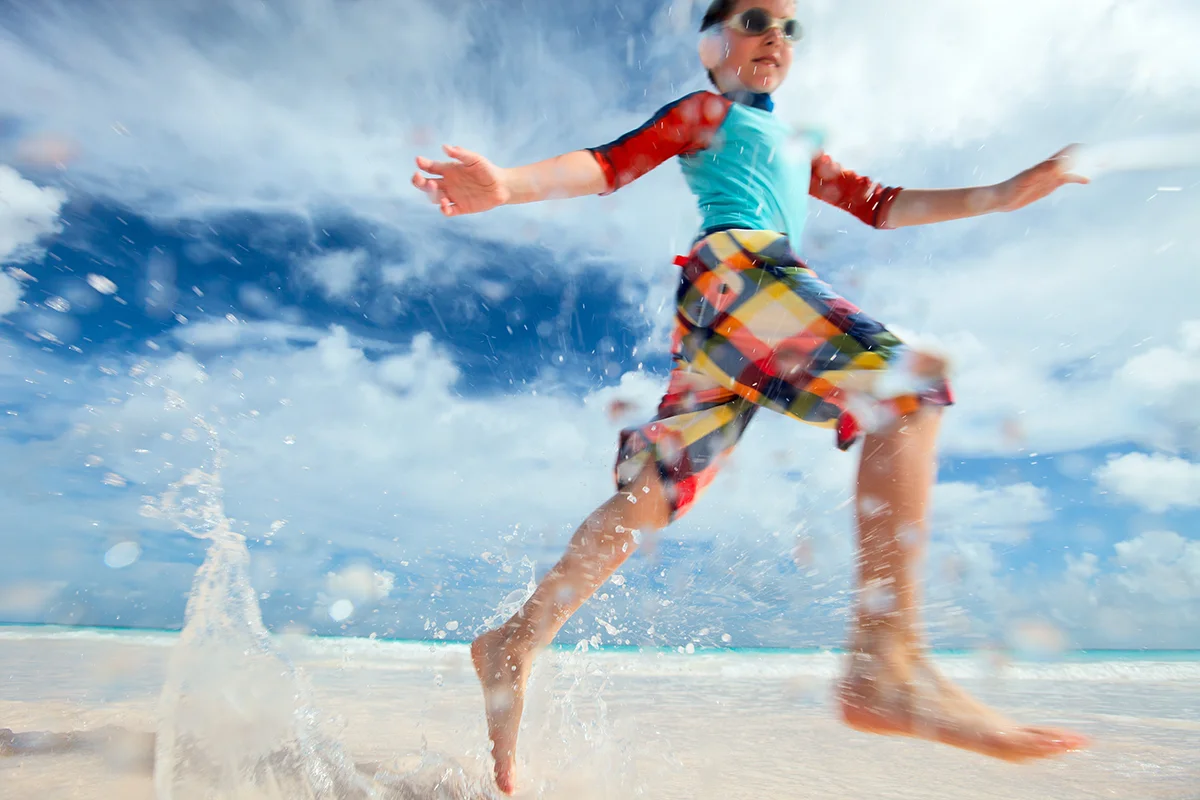
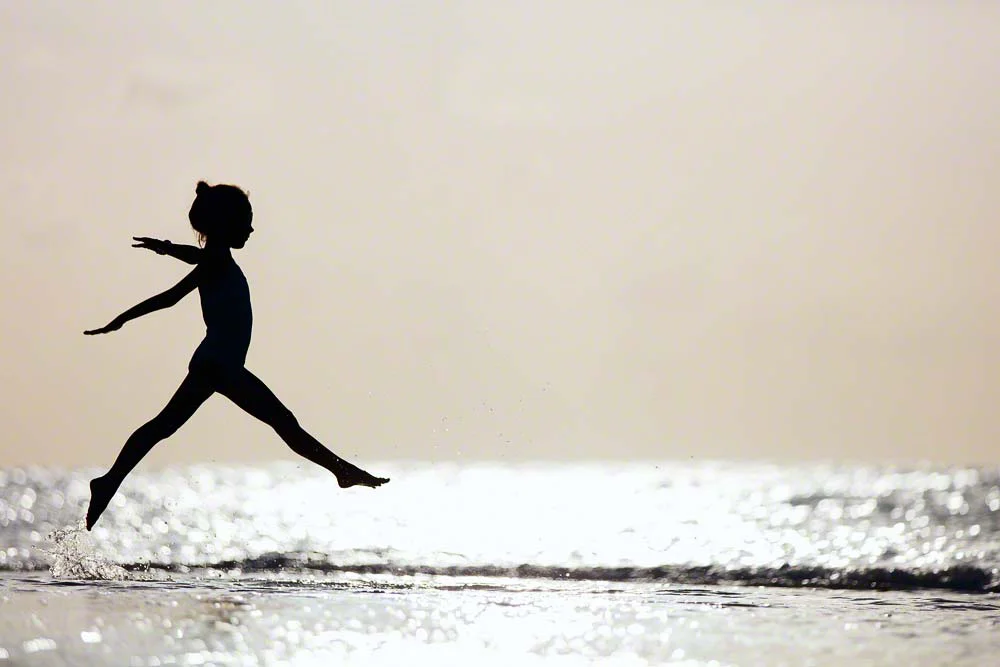
With AquaTech, we’ve shot everything from ballerina silhouettes in the surf to reef fish in the Maldives.

Underwater housings are also helpful for other kinds of photography when a camera needs to be protected from water.
Tips and Tricks for Underwater Photography
Now that we’ve covered our gear journey, here are the underwater and split-shot photography tips we’ve picked up along the way.
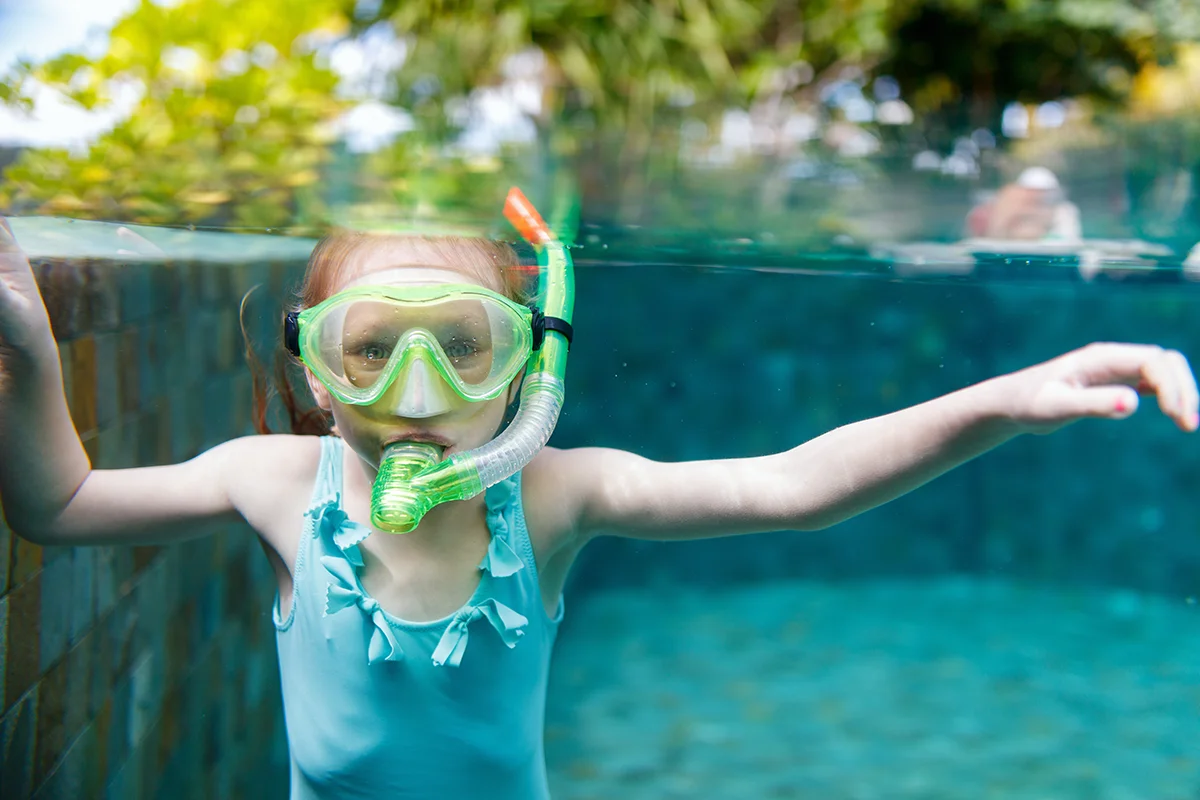
✅ Test Your Housing Before Use
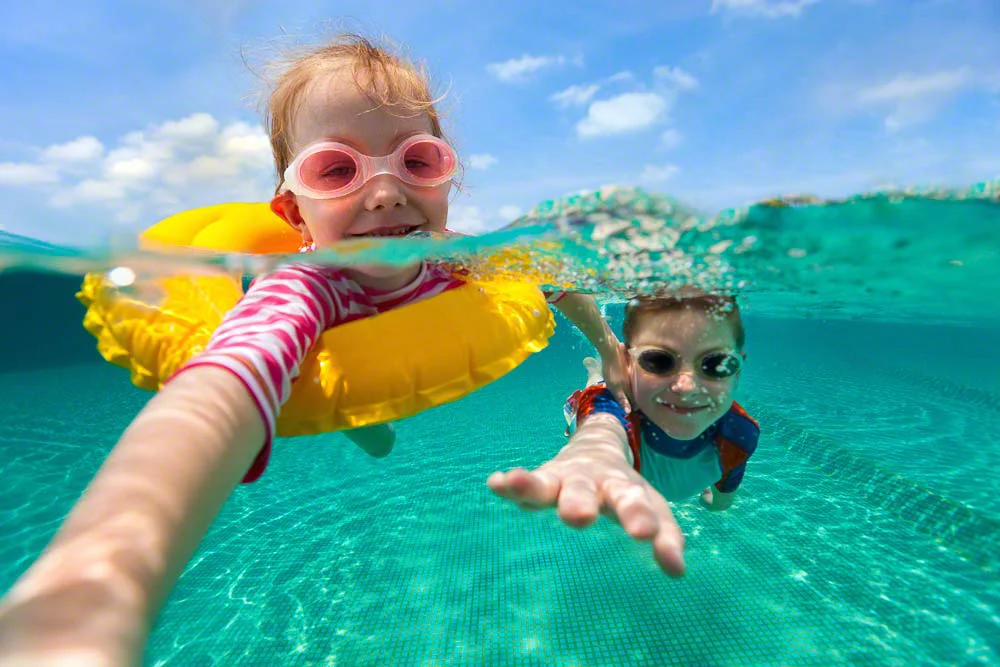
Always water-test your housing before putting your camera inside. We start with an empty housing in a pool, then repeat the test with the camera. Bonus: kids love “helping” with the tests.
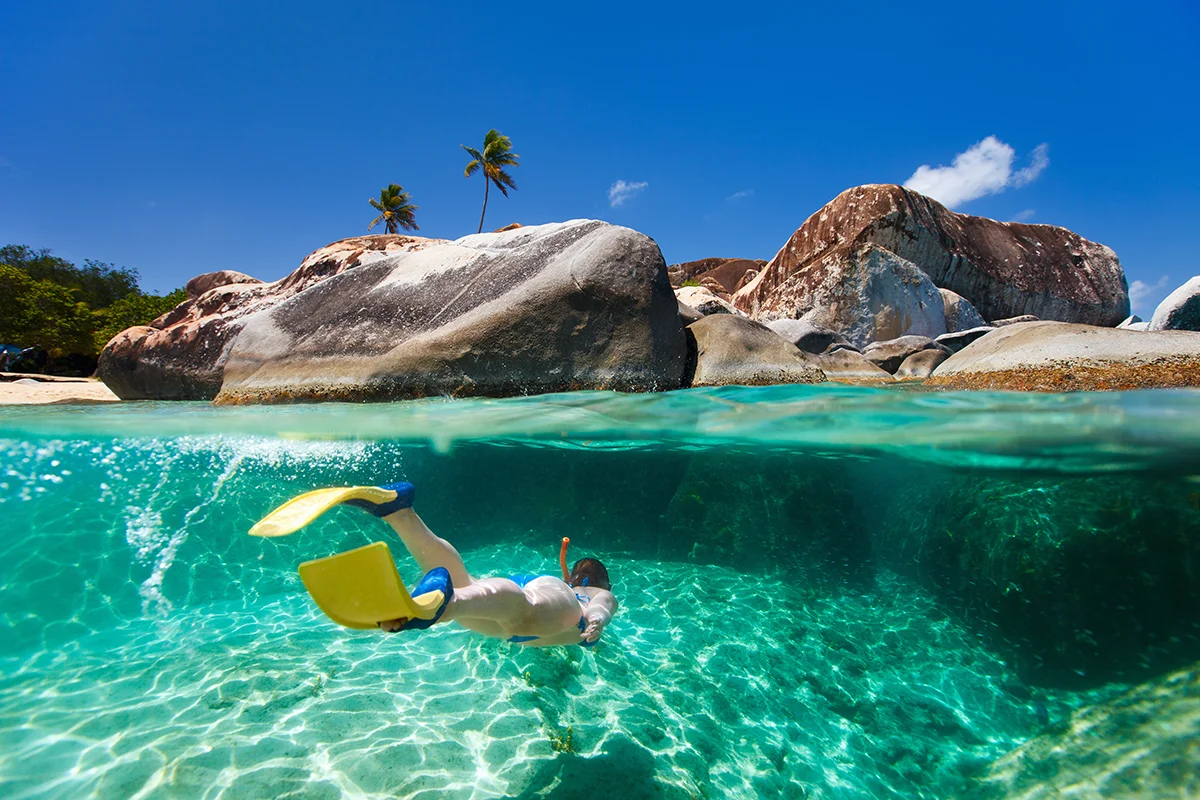
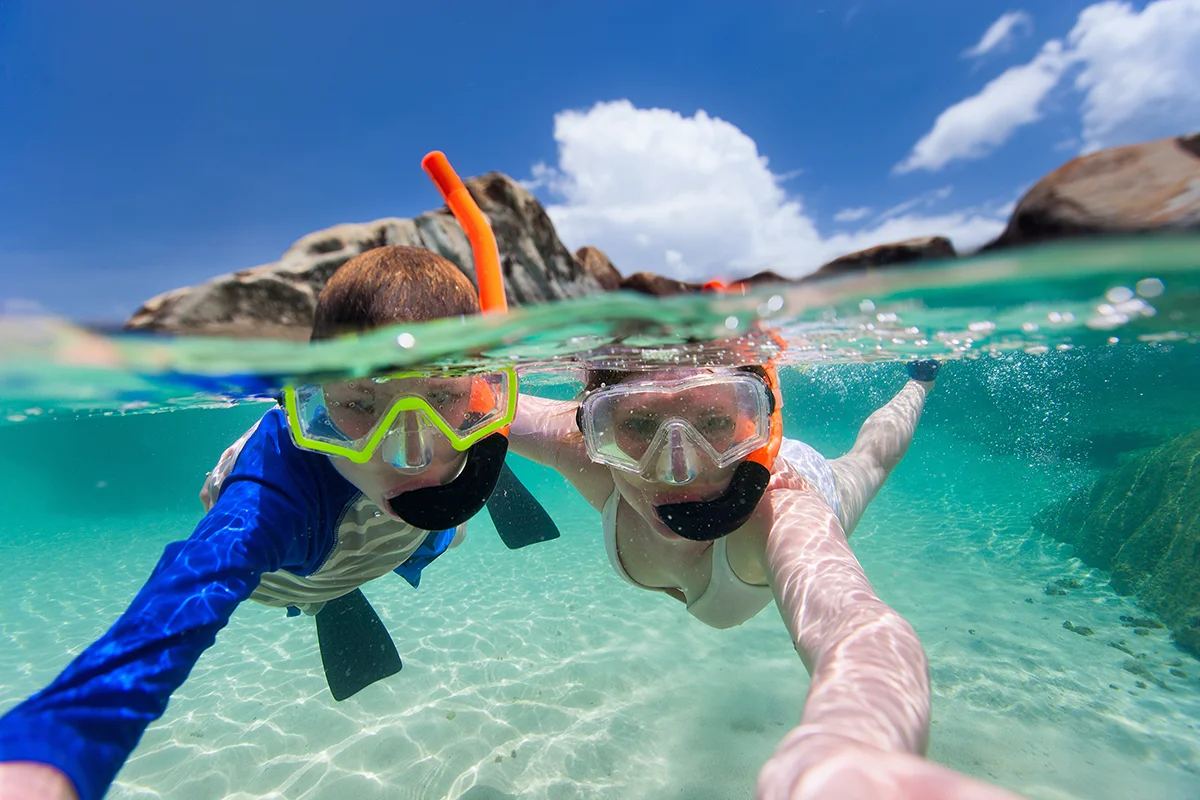
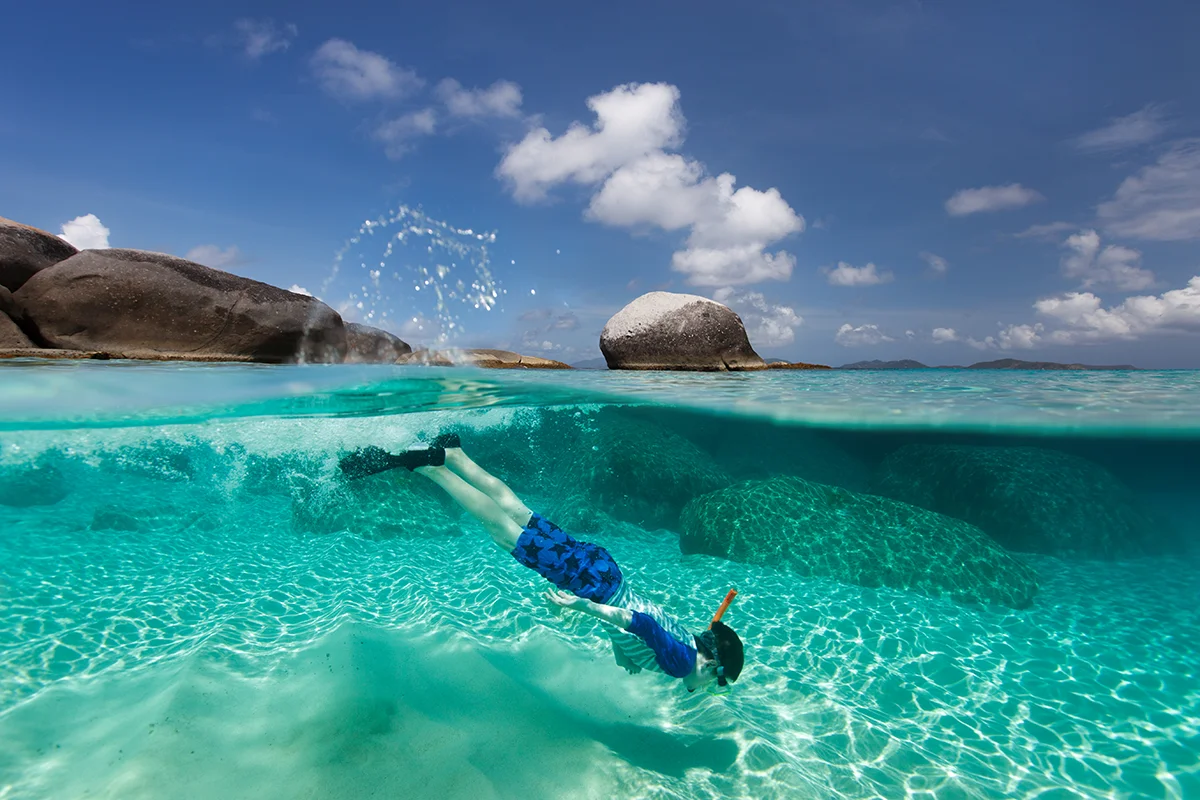
📷 How to Get Sharp Split Shots
To capture crisp over-under images:
- Choose calm, clear water
- Shoot in bright daylight
- Expose for the underwater part (it’s easier to recover sky highlights in post)
- Use a small aperture (f/8–f/16)
- Use a wide-angle lens (16mm or wider)
- Go for a large dome port—smaller domes need smaller apertures
- Position the subject at hyperfocal distance
We don’t use graduated filters—they limit flexibility for switching between underwater and above-water shots.
💧 How to Avoid Water Droplets on the Dome
Water droplets can ruin your shots. On our first Tahiti trip, we didn’t realize how big an issue this was. Since then, we’ve always carried a small sponge (Bob) attached to the housing to quickly wipe the dome before shooting.
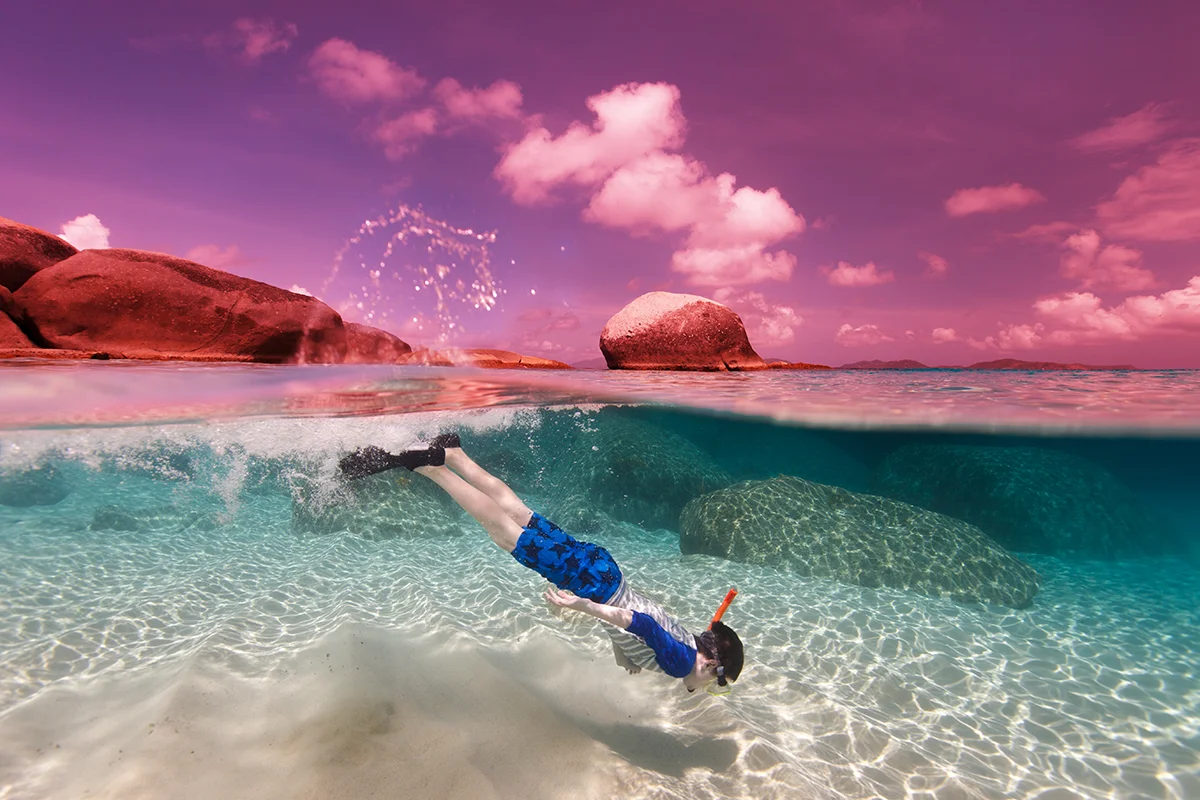
🎨 How to White Balance Split Shots
We rarely use flash when taking split underwater images, therefore, the top and bottom parts sometimes have different color temperatures, as the water absorbs red, orange, and yellow wavelengths. Some photographers use red filters to adjust the white balance. We decided to take an easier path. Shoot RAW, and apply different white balance temperatures to the top and bottom images during post processing.
Here’s our basic editing workflow:
- Shoot in RAW
- Process two versions of the image (one balanced for the sky, one for underwater)
- Export both as TIFF or JPEG
- Stack the images in Photoshop (or similar)
- Mask the underwater part of the top layer
- Merge and adjust levels, shadows, etc.
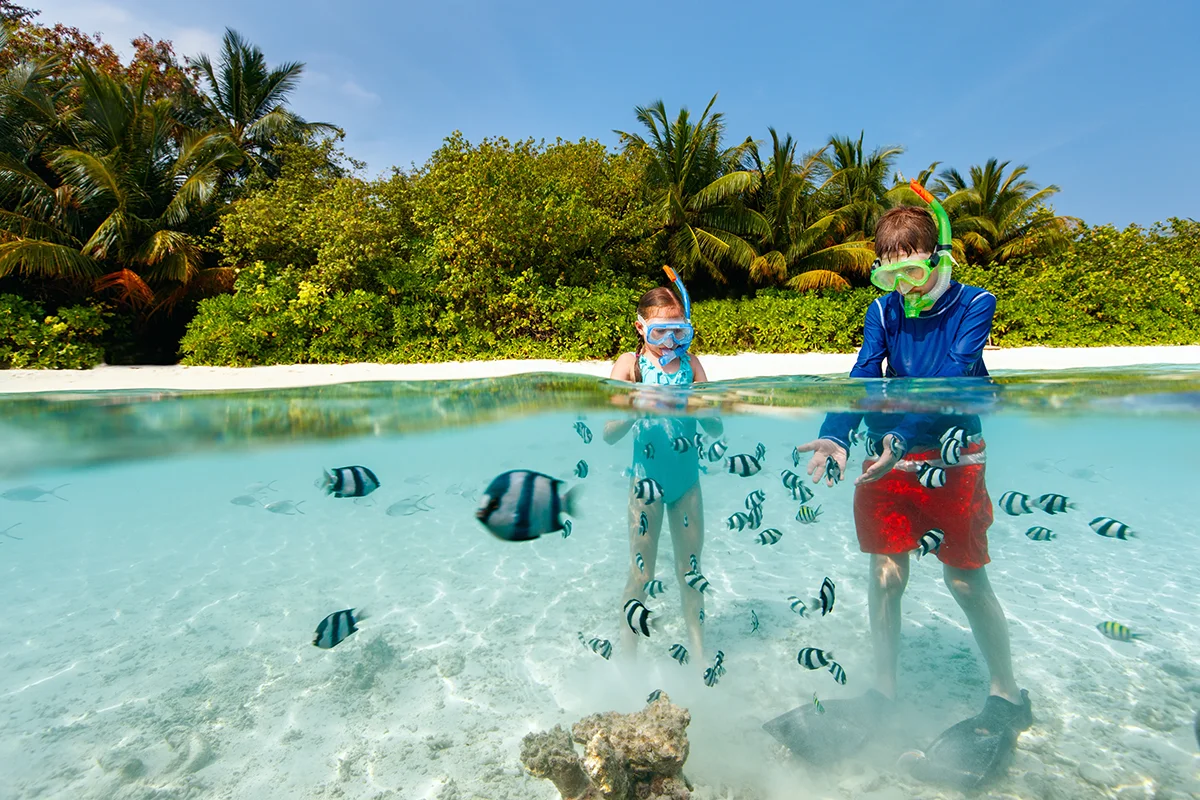
For shallow, sandy areas, this step might not be necessary—like on a bright sandbank in the Maldives.

Final Thoughts
While we’ve gained a lot of experience over the years, underwater photography remains something we do for the joy of it. It’s a creative escape, driven by curiosity and countless lessons learned through trial and error.
If you found this post helpful or have questions, feel free to leave a comment or get in touch—we’re always happy to share and chat. Also, don’t forget to check out our Photography Equipment page to see our current setup.
We recently switched to the Canon R8 and are currently evaluating the Ikelite 200DLM/D housing—stay tuned for a detailed review soon!
Thank you for this awesome post!! I’m so on the fence! I really want to do more underwater photography, I do a lot above water! How does the GoPro measure up? Not at all? Is the lastest maldives set up your favorite?
Hi Jessica, sure, you can use GoPro! However, if you want to shoot over / under images, I would recommend purchasing GoPro dome, that is usually around 6″. GoPro has smaller sensor, thus, it would be easier to control focus for overwater and underwater parts, also, GoPro setup would be much smaller and less expensive comparing to DSLRs.